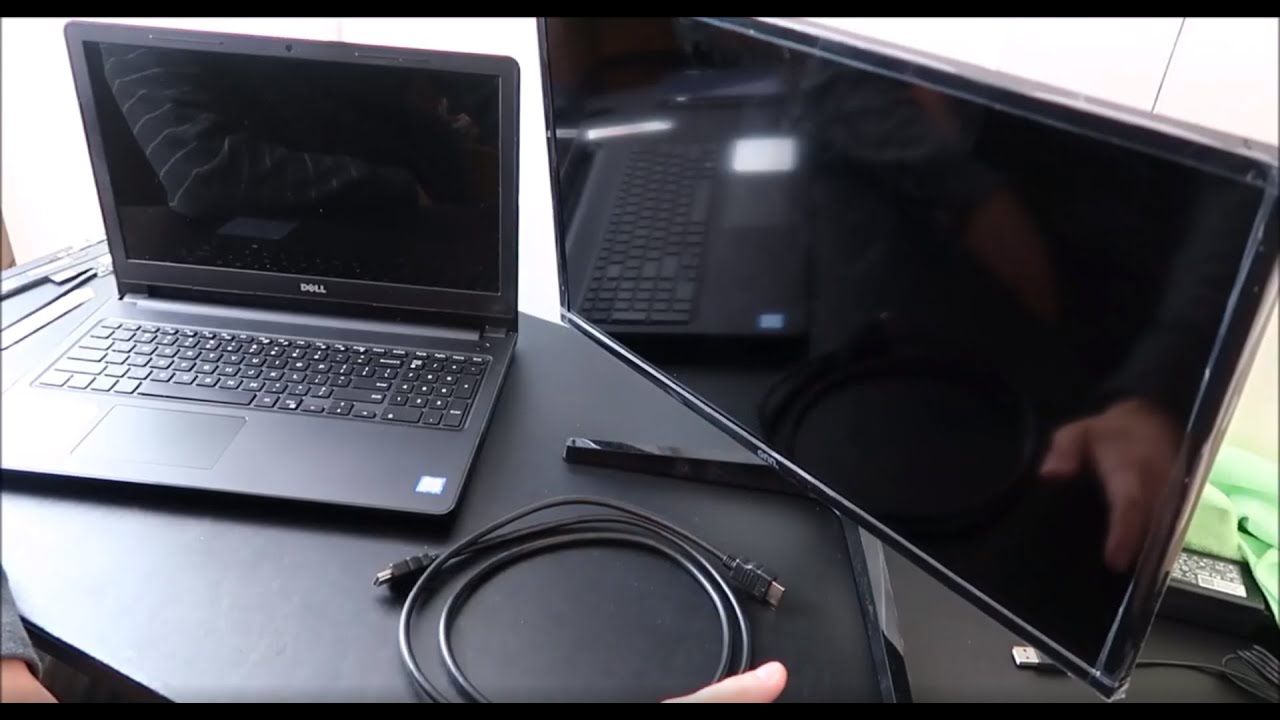
Your laptop screen is one of its most critical components, affecting everything from work productivity to entertainment quality. Whether you’ve just bought a new laptop or suspect issues with your current display, knowing how to test a laptop screen can help you identify problems like dead pixels, color inaccuracies, or flickering. In this guide, we’ll walk you through simple, effective methods to ensure your laptop screen is performing at its best. Back screen

Why Testing Your Laptop Screen Is Important
Laptop screens, whether LCD, LED, or OLED, can develop issues over time or arrive with defects. Testing allows you to spot problems early, ensuring you get the most out of your device and can address issues under warranty if needed. From gaming to graphic design, a flawless screen is essential for an optimal experience.
Step 1: Inspect for Dead or Stuck Pixels
Dead pixels (non-functioning) or stuck pixels (fixed on one color) are common screen flaws. Here’s how to test:
- Solid Color Test: Open a browser or app displaying full-screen solid colors—white, black, red, green, and blue. Websites like Eizo Monitor Test or apps like “Dead Pixel Detect” work well.
- Examine Closely: Look for tiny dots that don’t blend with the background. Dead pixels appear black on white, while stuck pixels show as colored specks on black.
- Fixing Tip: Gently press the affected area with a soft cloth or run pixel-fixing software to attempt recovery.
Step 2: Check for Screen Flickering
Flickering can indicate hardware or software issues. To test:
- Adjust Brightness: Slowly increase and decrease brightness to see if the screen flickers or dims unevenly.
- Move the Lid: Open and close the laptop lid slightly to check for loose connections—flickering here might mean a faulty cable.
- Update Drivers: If flickering persists, update your graphics drivers via the manufacturer’s website.
Step 3: Test Color Accuracy and Uniformity
A good laptop screen should display vibrant, consistent colors. Here’s how to verify:
- Gradient Test: Use a gradient image (e.g., black-to-white) from a testing site or app. Look for banding or uneven patches.
- White Balance: Display a pure white screen. Check for discoloration like yellow or blue tints, which suggest calibration issues.
- Compare: If possible, compare with another device to spot differences.
Step 4: Evaluate Brightness and Contrast
Brightness and contrast affect visibility and comfort. Test them by:
- Max Brightness: Set the screen to 100% brightness with a white image. Ensure it’s bright and even across the panel.
- Black Levels: In a dark room, display a black image. Look for light bleed or grayish areas—especially important for LED/OLED screens aiming for deep blacks.
Step 5: Look for Physical Damage
Physical issues can also affect performance:
- Visual Check: Inspect for scratches, cracks, or pressure marks under good lighting.
- Touch Test: If it’s a touchscreen, swipe across the surface to ensure responsiveness everywhere.
Step 6: Use Built-In Tools or Software
Many laptops and operating systems offer diagnostic tools:
- Windows: Search for “DxDiag” to run a DirectX diagnostic and test display settings.
- Mac: Use “System Diagnostics” by restarting and holding the D key (on older models).
- Third-Party Tools: Apps like “MonitorTest” or “UFO Test” can analyze refresh rates and motion clarity.
Common Laptop Screen Issues and Fixes
- Dead Pixels: May need a screen replacement if widespread.
- Flickering: Update drivers or consult a technician for hardware checks.
- Color Issues: Adjust settings in the display control panel or recalibrate.
Conclusion
Testing your laptop screen is a quick and easy way to ensure it meets your expectations, whether for work, gaming, or creative tasks. By following these steps, you can catch issues early and take action—be it a software fix or a warranty claim. A healthy screen enhances your laptop experience, so don’t skip this simple maintenance check.