The camera is an essential feature for many laptop users, whether for capturing photos or recording memorable videos. With rapid advancements in technology, almost every laptop now comes equipped with a built-in camera. However, managing your laptop camera—specifically turning it on and off—can sometimes be a challenge. In this article, Hoàng Hà PC will walk you through the simplest methods to disable and enable your laptop camera.
1. Where is the Laptop Camera Located?
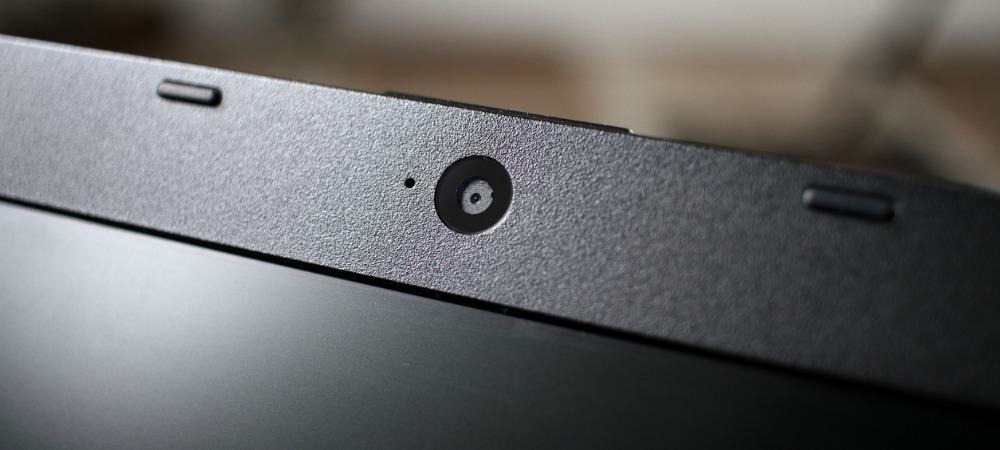
The laptop camera, often simply referred to as the “cam,” is integrated into nearly every laptop. Typically, you’ll find it at the top center of your screen. This central placement ensures that your face is well-framed during video calls or when taking selfies, making it easy to capture clear and well-composed images or videos.
2. How to Turn Off Your Laptop Camera
If you wish to disable your laptop camera—for example, to prevent unauthorized access—follow these straightforward steps:
- Accessing Computer Management:
Right-click on the This PC icon on your desktop and select Manage. This action opens the computer management console, where you can access various system tools. - Navigating to Device Manager:
In the management window, click on Device Manager in the left-hand menu. Then, double-click on the Imaging devices category in the right pane. Here, you should see your webcam listed (commonly named “Integrated Webcam” or something similar). - Disabling the Camera:
Right-click on the webcam entry and choose Disable. When the confirmation prompt appears, click Yes to confirm that you want to turn off the camera. - Re-enabling the Camera:
If you later decide to enable your camera, simply return to the same location in the Device Manager, right-click the webcam entry again, and select Enable.
Following these steps will effectively disable your laptop camera, adding an extra layer of security against potential intrusions.
3. How to Turn On Your Laptop Camera on Windows
After disabling your camera, you might later need to turn it back on. Here’s how to do it on various versions of Windows:
3.1. Windows 7
- Using the Start Menu:
Click on the Start button and type “camera” in the search box. The camera application should appear—click it to launch. - Alternative Method:
Open Computer and check for an entry labeled USB Video Device. If you find it, click on it to activate the camera.
3.2. Windows 8
- Accessing the Search Tool:
Move your cursor to the right side of the screen to bring up the Search tool. Type “Camera” into the search bar. If the camera app appears, simply click it to open. - Driver Check:
If no camera option appears, it might indicate that the camera driver has not been installed. In that case, check for the necessary driver updates immediately.
3.3. Windows 10
- Launching the Camera App:
Click on the Start menu and enter “camera” into the search bar. When the camera application shows up in the search results, click it to launch. - First-Time Setup:
If this is your first time accessing the camera, Windows 10 may prompt you to allow access to the microphone, webcam, and location services. Click Allow to enable these features and start using your camera. - Using the Camera:
Once the camera is active, you can take photos by clicking the camera icon or record videos by selecting the video camera icon.
Conclusion
By following these simple steps, you can easily control your laptop camera and ensure it operates only when you want it to. Whether you’re using Windows 7, Windows 8, or Windows 10, managing your camera remains a straightforward process. This not only helps protect your privacy but also prevents unwanted access by hackers. Enjoy capturing your favorite moments while staying secure and in control!